A Children's Mural On Three Adjacent Columns
If you are interested in hiring me to to do similar work please contact me.
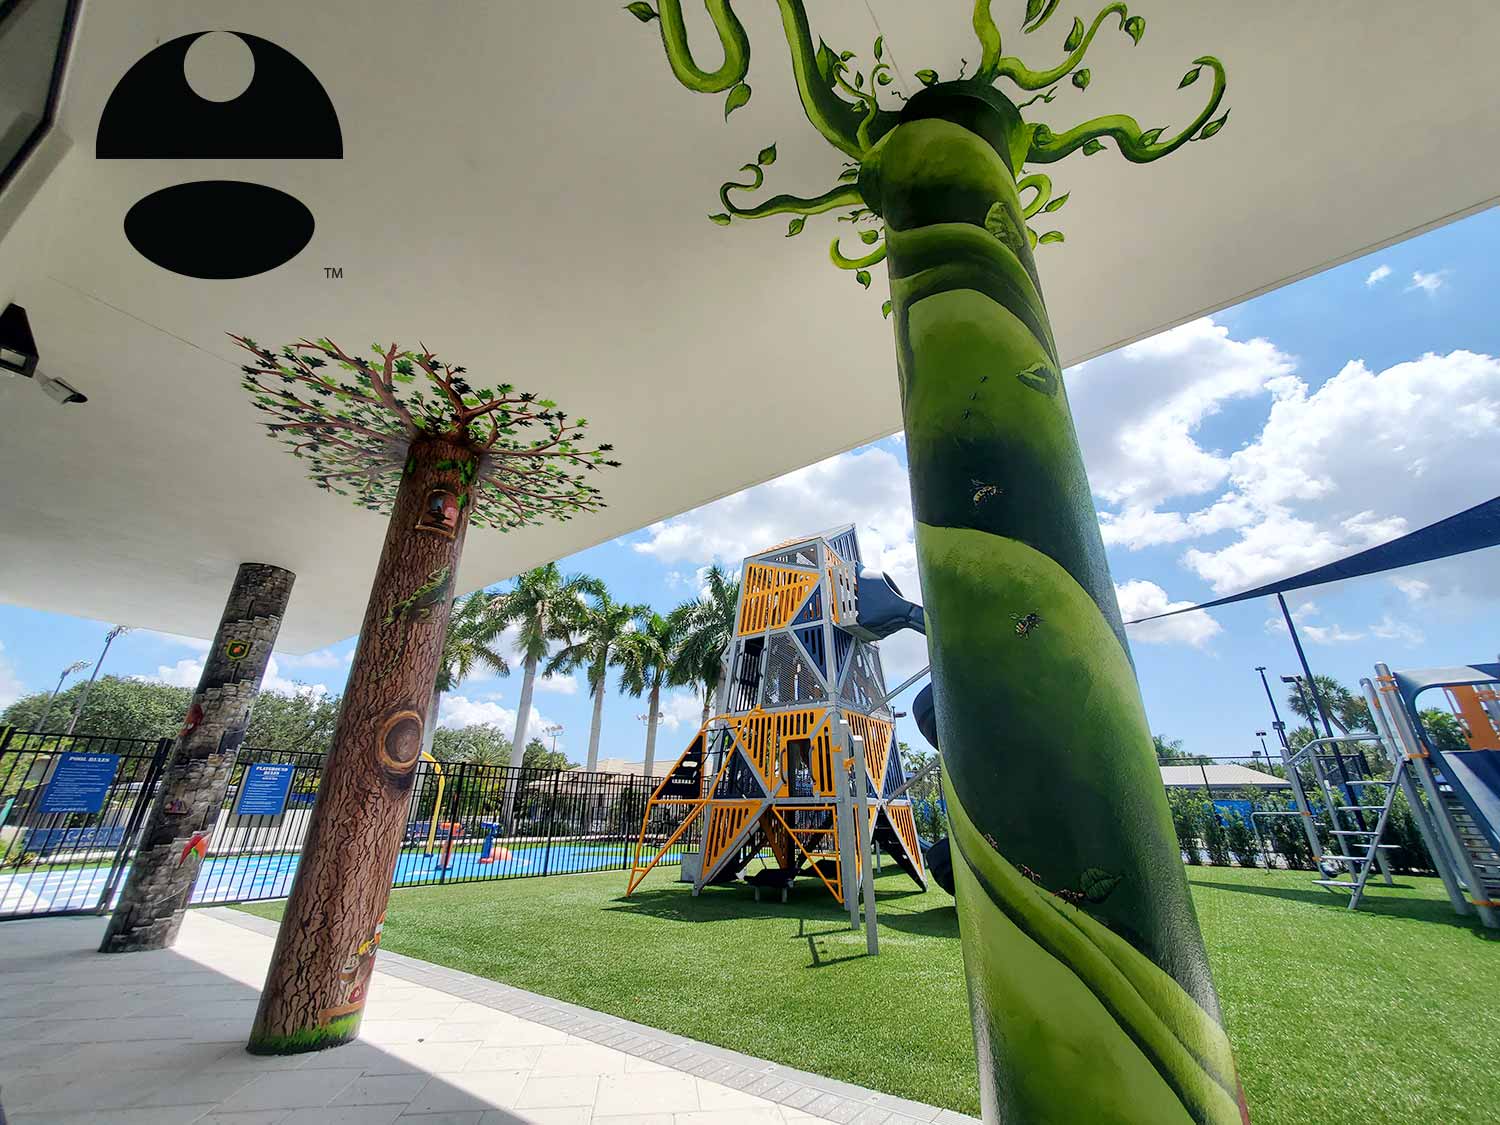
This project started with the idea of doing a mural on the wall behind these columns. While I was being shown around one of the staff mentioned painting the columns instead. The idea immediately jumped into my head.
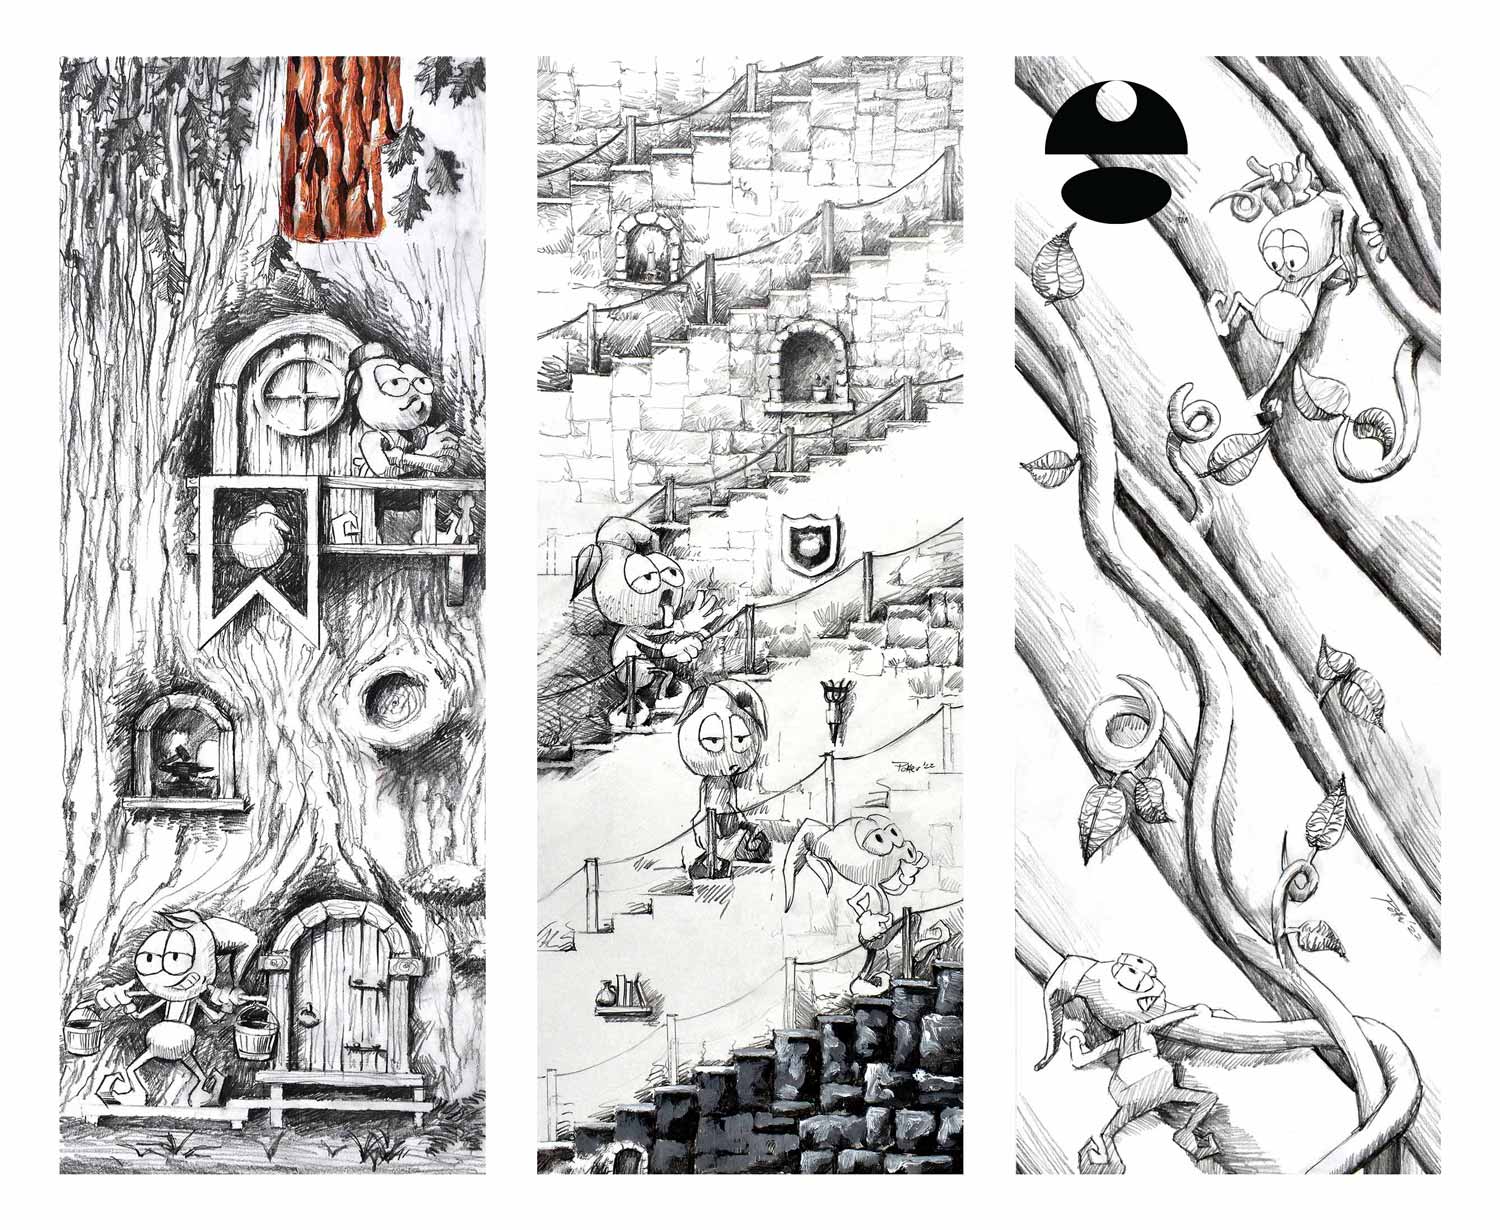
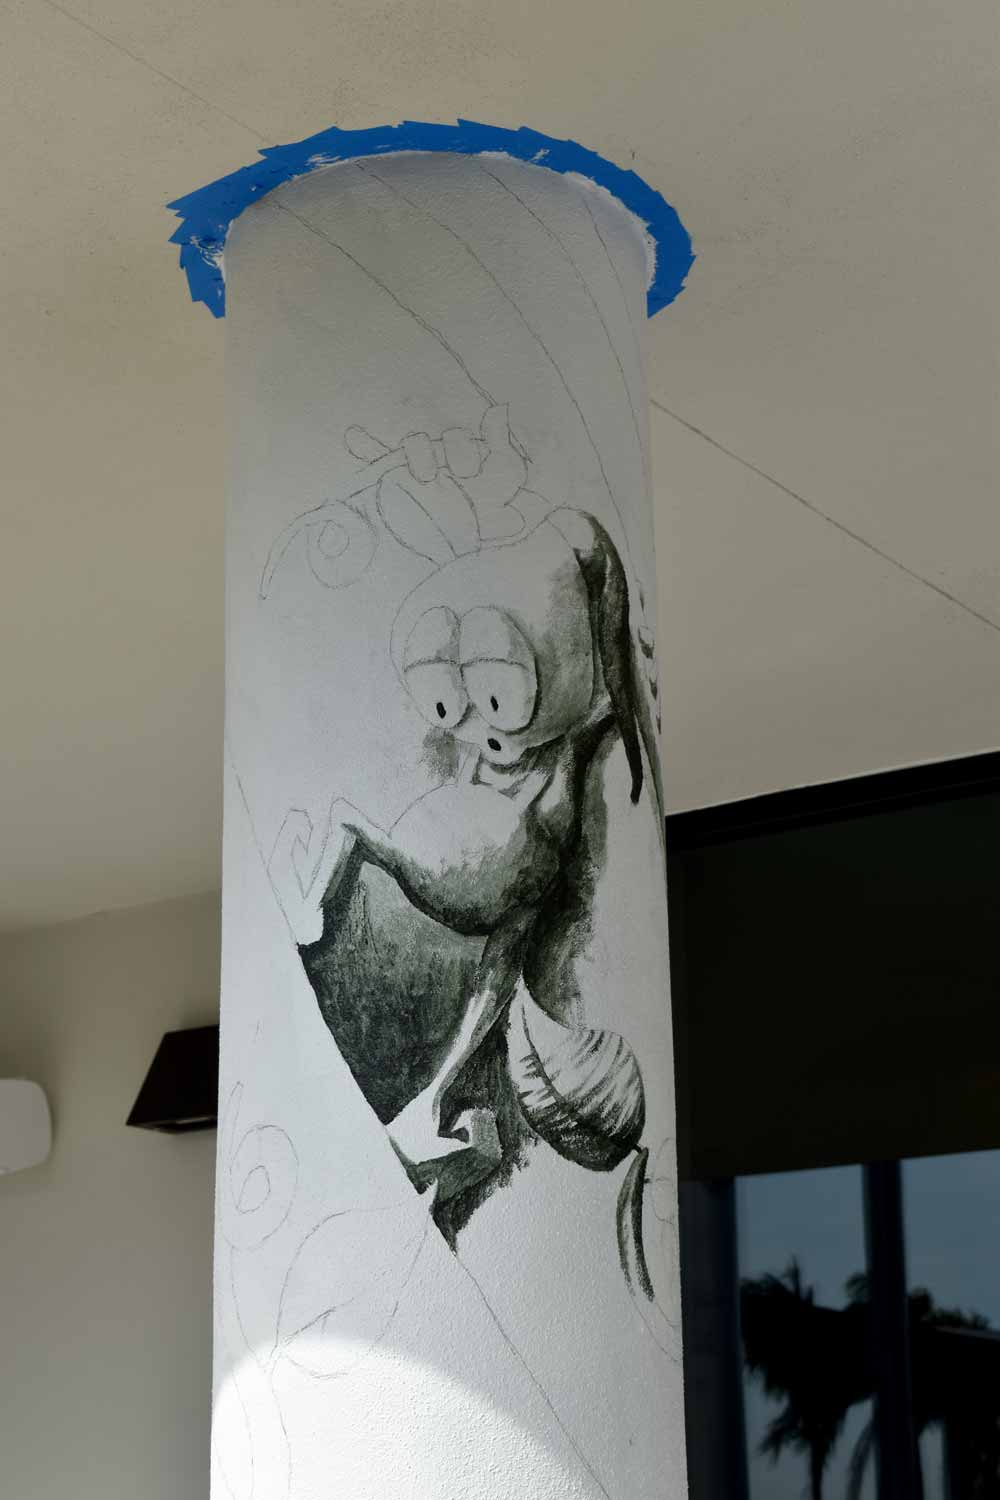
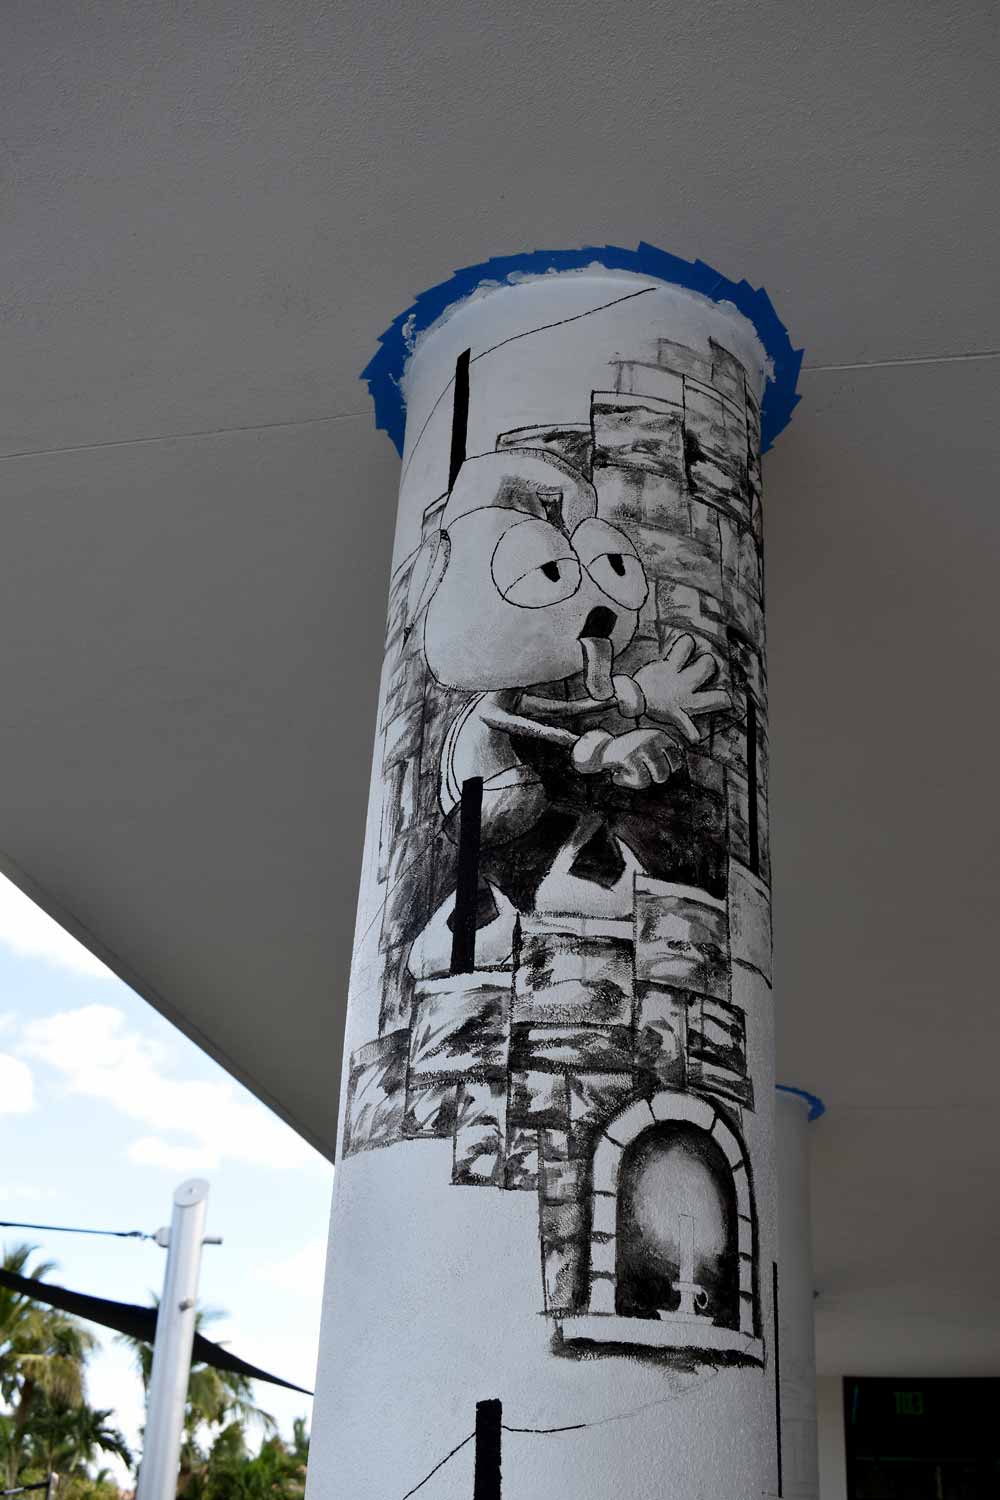
One is a Jack and the Beanstalk theme, one is a tree/house kind of like the Keebler elves live in and the third is a spiral staircase running around the outside of the column. All three are inhabited by versions of the cartoon Honeybell Orange character I created named Hughie. I gave him a gnome hat and kind of pointy curled elf shoes. Previous Hughies were also all head like the Koolaide guy. This version has a body and just his head is an orange.
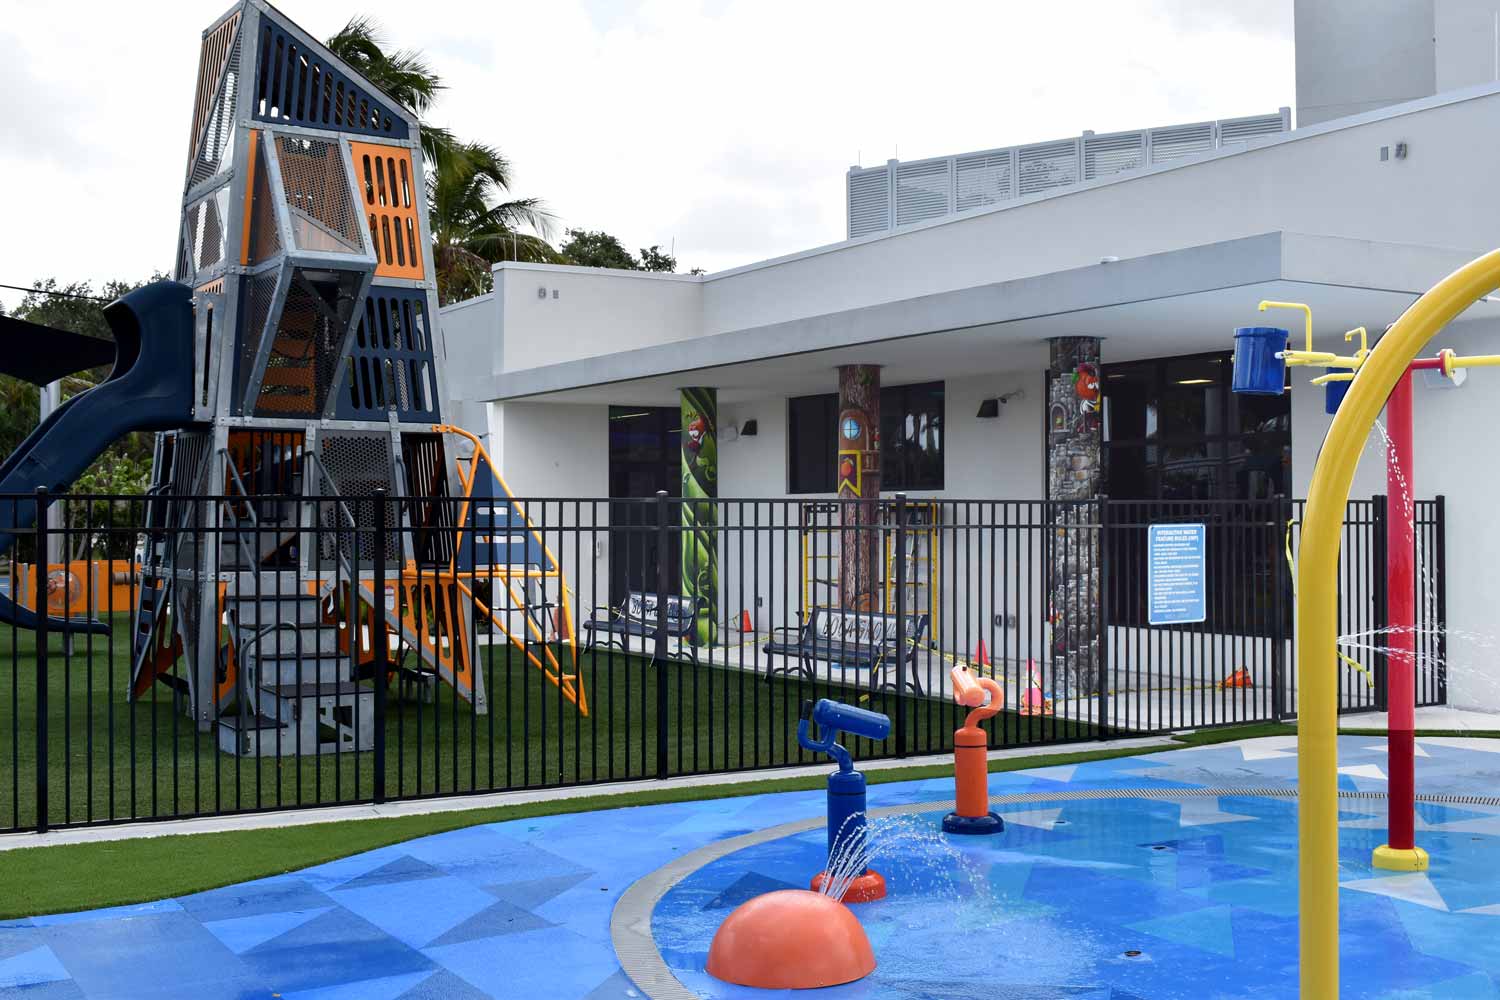
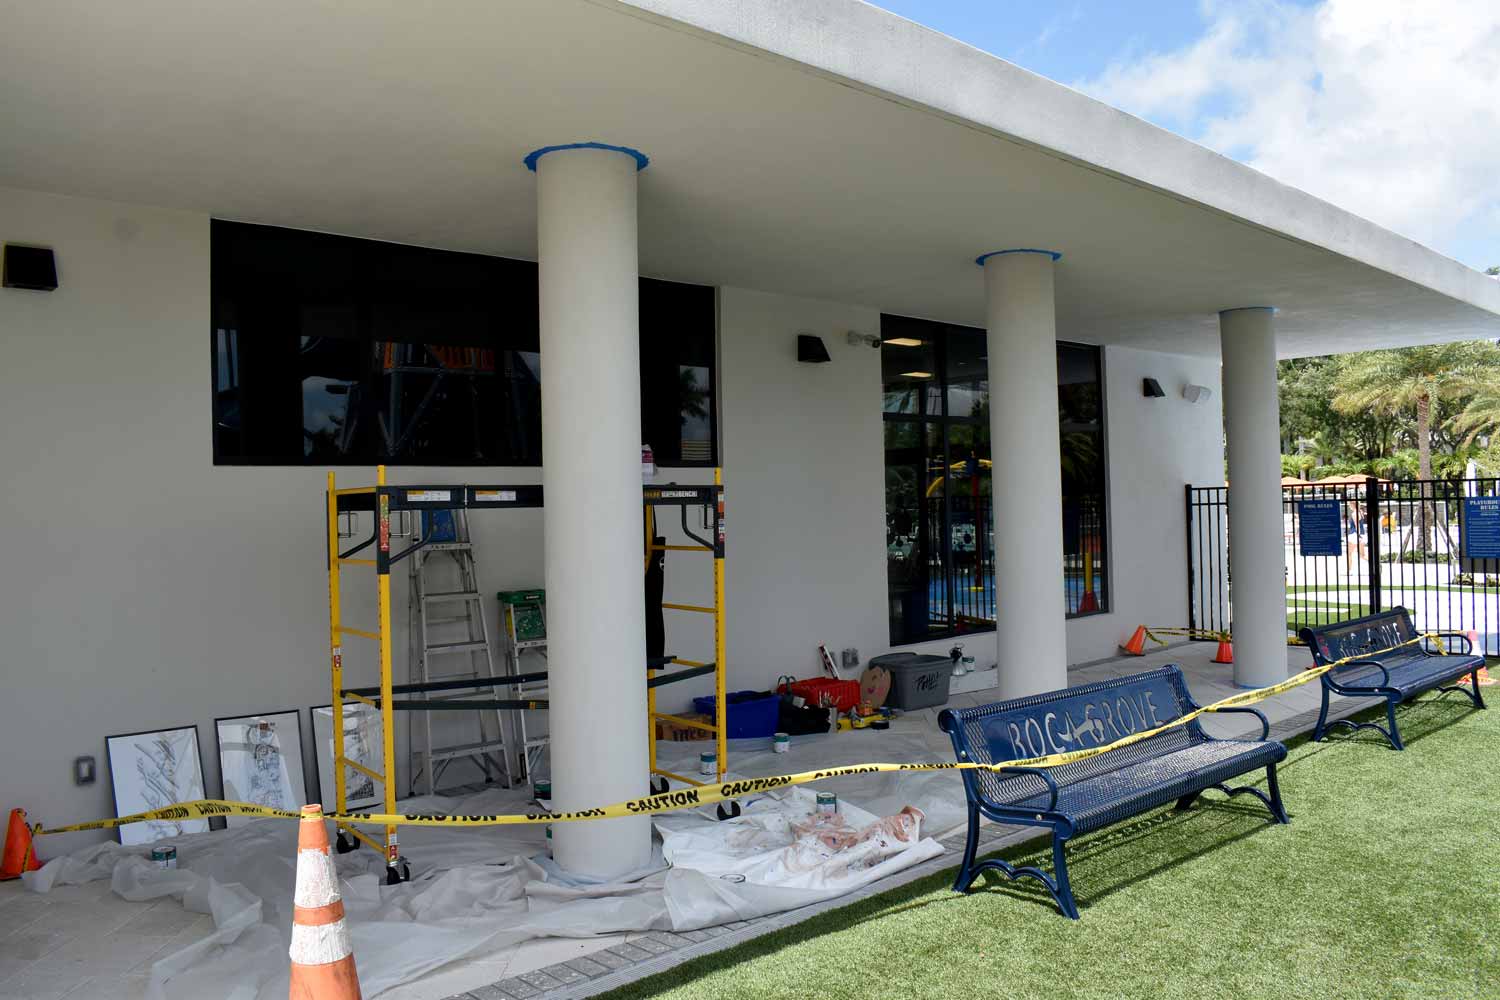
The columns are concrete and have a pebble dashed surface. Each is eleven feet high and just over four feet in circumference. They are immediately adjacent to a playground on the grounds of The Boca Grove Golf and Tennis Club in Boca Raton, Florida. The building the columns are part of is the club's fitness center. The fitness center also has a kid's activity center called The Hive which has windows overlooking the back of the staircase and tree columns.
Once the concept was approved, I made sketches and used a simple Sketchup model to get an idea of how they would fit on the columns. I tried to take into account having stuff low enough to entertain little kids without blocking foot traffic and a little something to look at from most any angle. I also decided to put the two spiraling designs at opposite ends and make them spiral in opposing directions. The bean stalk spirals up counter or anti clockwise while the staircase spirals upward in a clockwise fashion. There was some wiggle room built in and some revisions were made later.
When that was all approved, I moved on to the tedious task of enlarging all of these drawings onto tracing paper at full scale. If you are interested in how I did that I have a previous post outlining the process.
Once on site the transfer of the drawings to the columns took a couple of days. In some cases I had elements isolated so that I could place them randomly as I saw fit. Others weren’t very flexible.
I established my darkest darks in paint and then applied a toned wash. From that point I generally painted from dark to light, but I sometimes just went for it.
The initial drawings took a few days to complete and the actual on site work took thirteen days. All drawing was done by hand but Photoshop, Illustrator and Sketchup were used at different points for contrast adjustment, resizing etc.
I believe all drawing supplies including the large tracing paper were all purchased at Blick Art Materials in Fort Lauderdale and were mostly Blick brand. All of the paint I used was acrylic. The top clear coat is a resin. I used various house paints mostly manufactured by Behr. I used artist’s paint made mostly by Liquitex, paint markers made by Molotow, Montana and DecoColor. All of the spray paint I used was Montana Gold brand. The final clear coat is a Sherwin Williams product called Anti-Graffiti Coating 1K Siloxane. I purchased materials at Home Depot, Michaels, Sherwin Williams and last but not least Blick Art Materials in Fort Lauderdale. I did use stuff left over from other projects as well. I’m not going to try to figure out where it all came from but I am sure the list would be very similar.
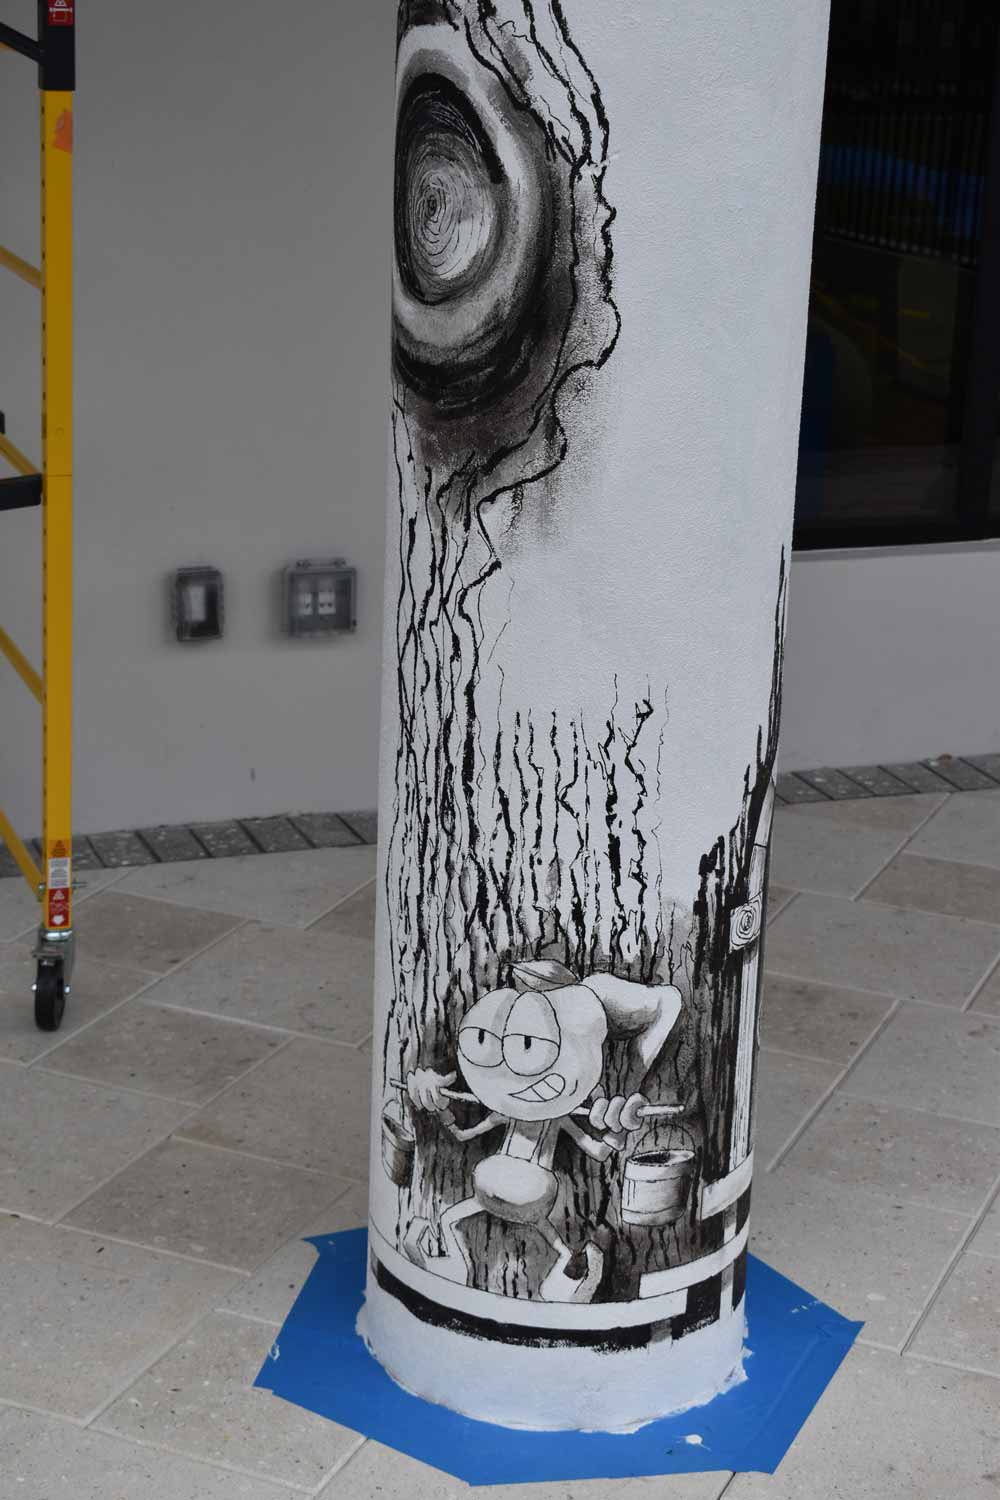
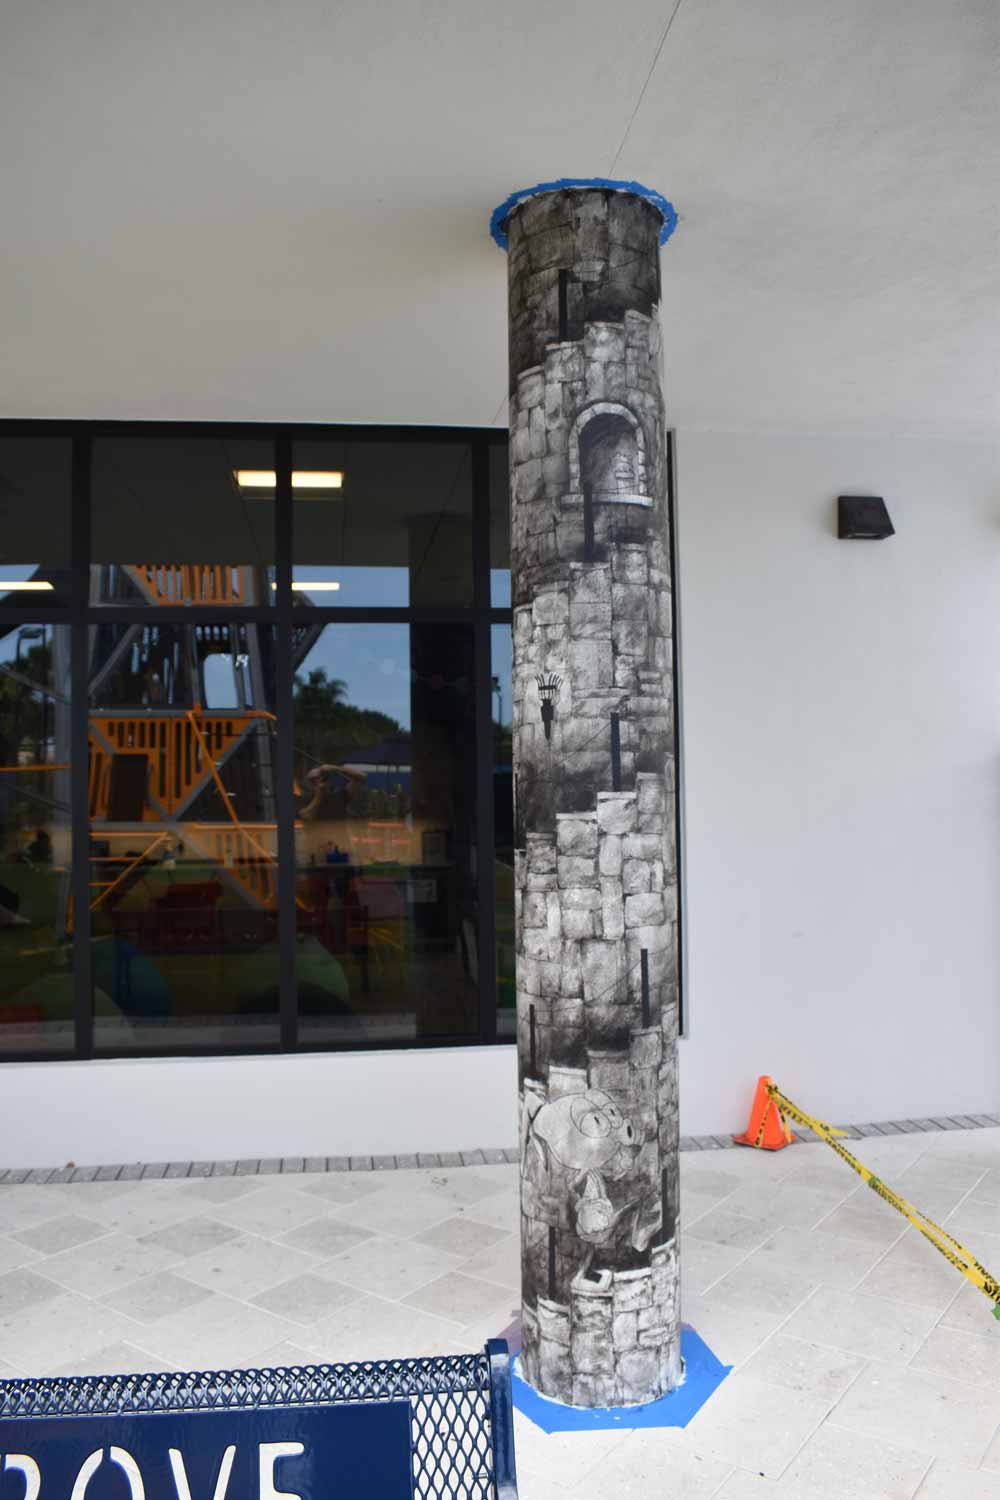
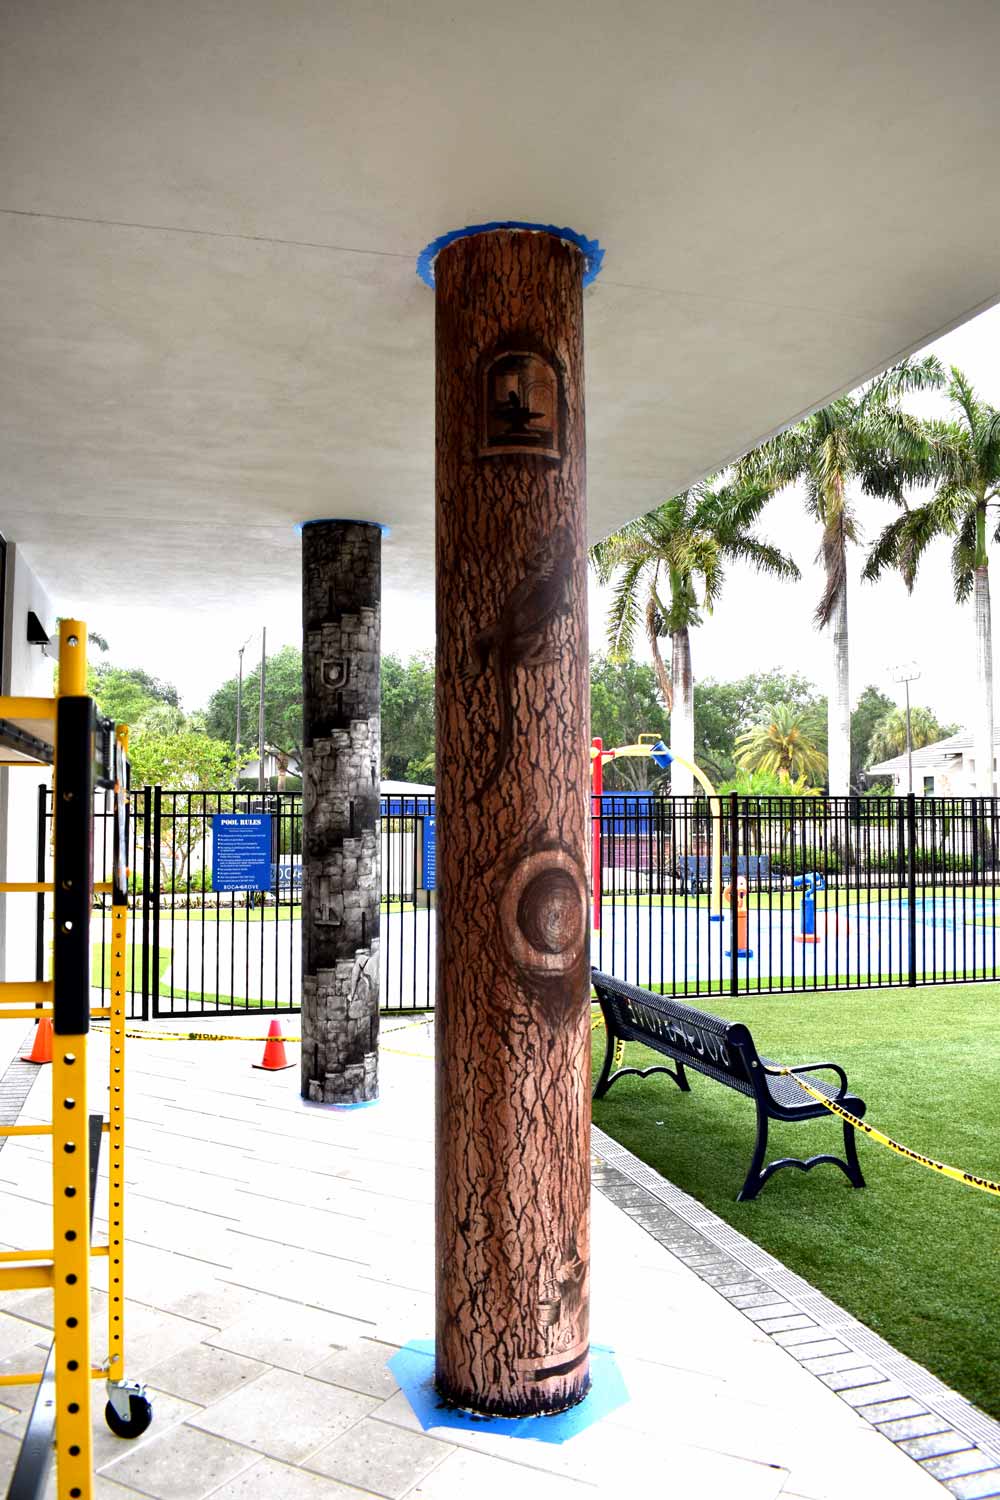
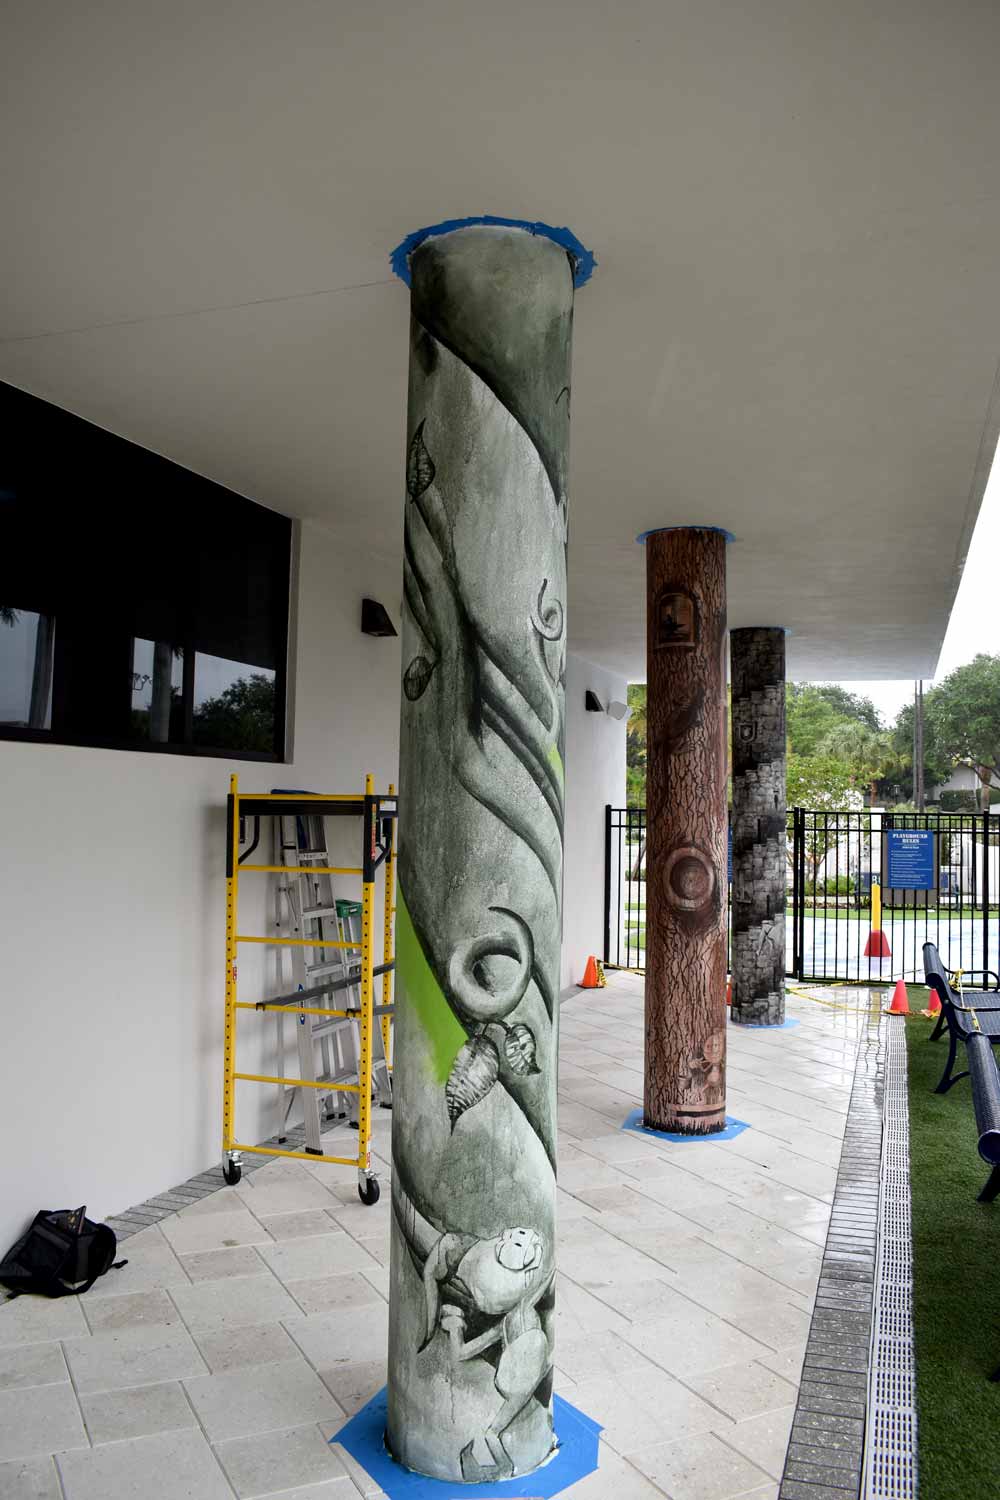
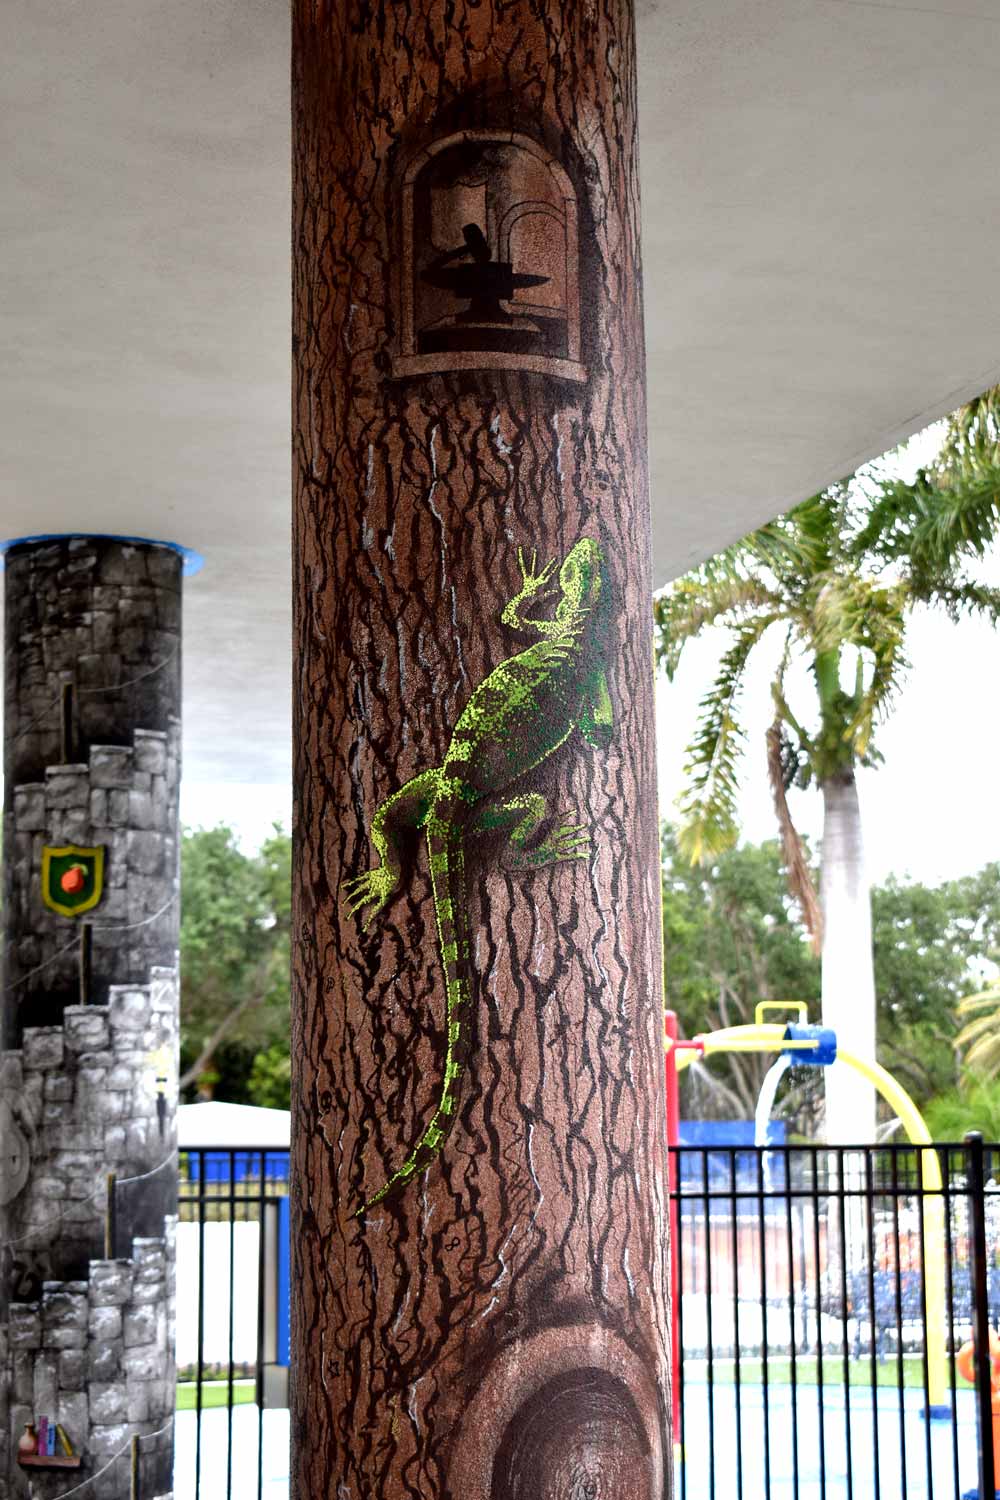
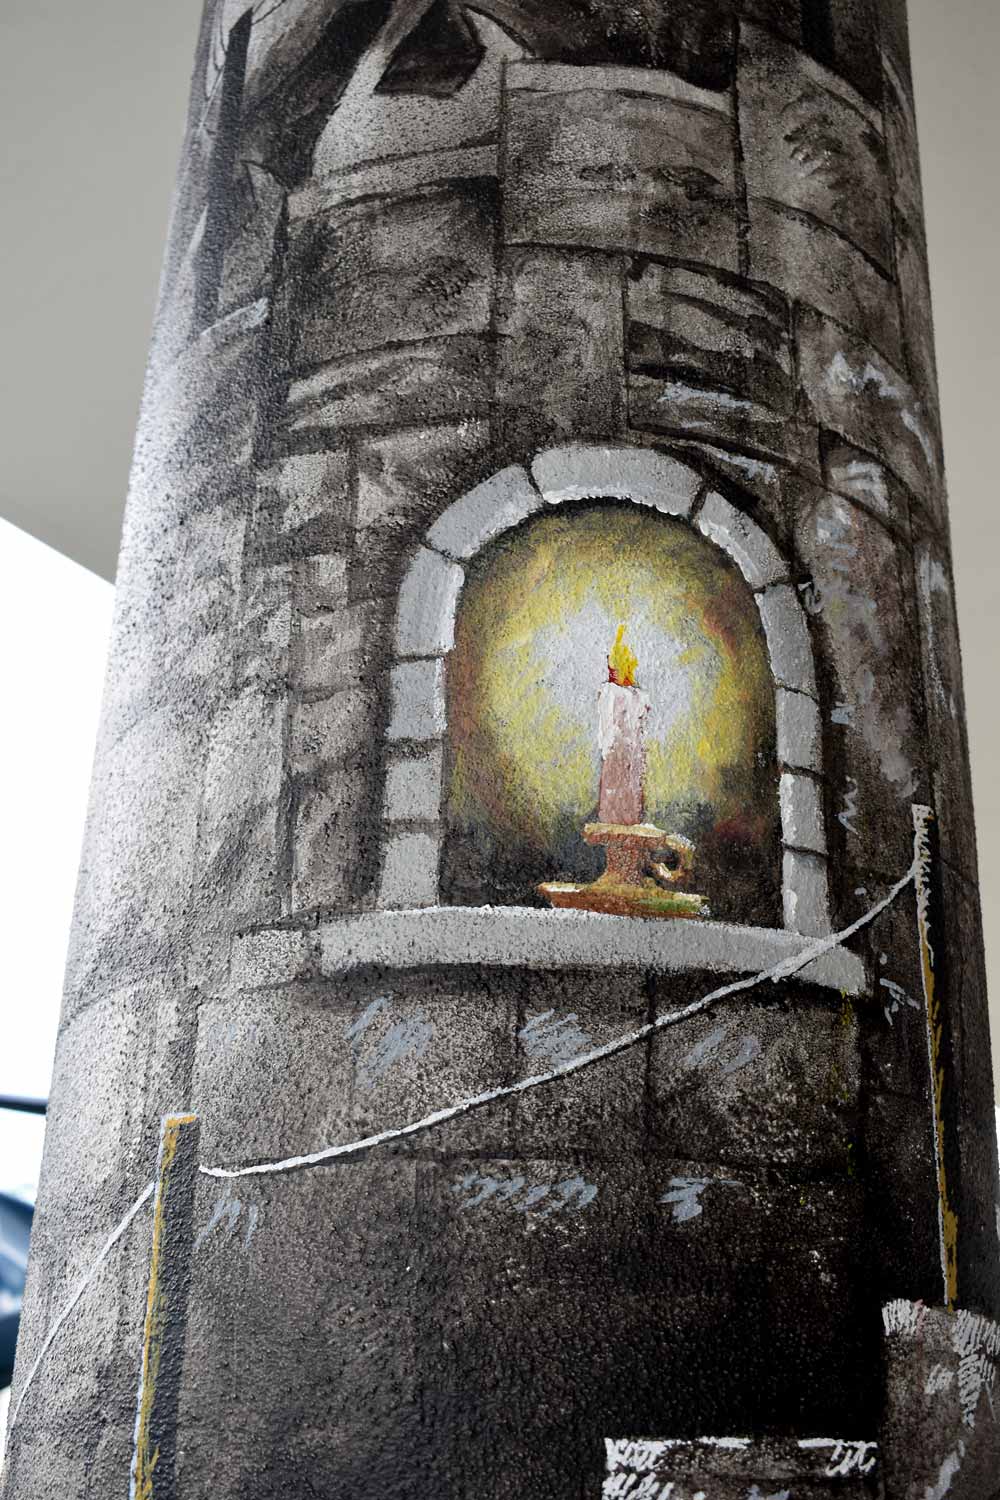
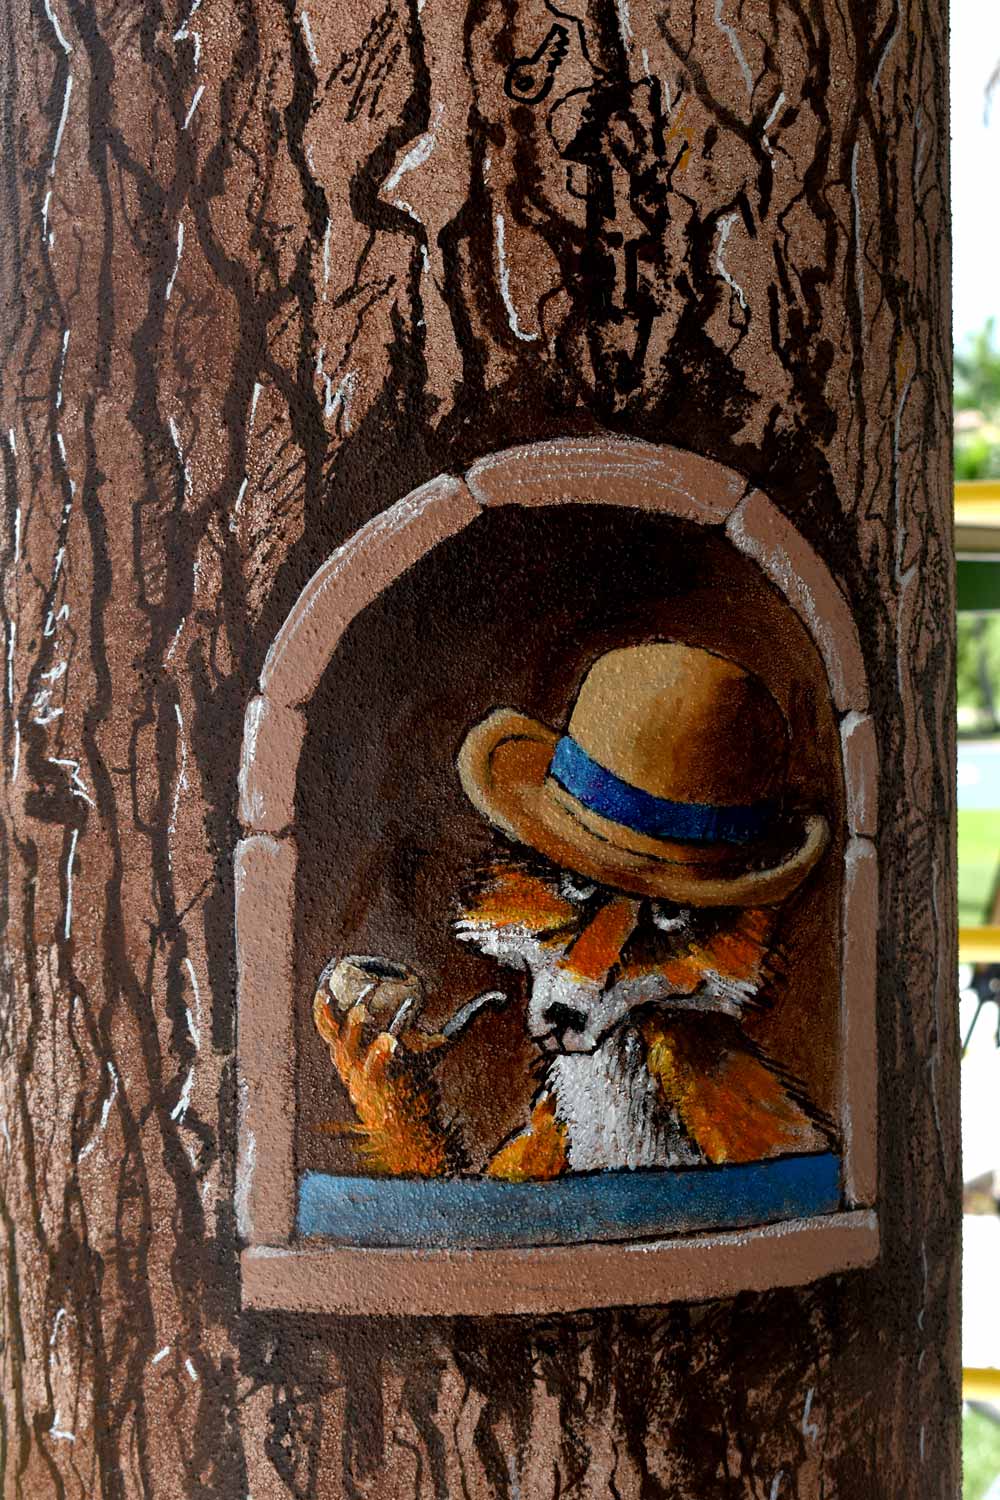
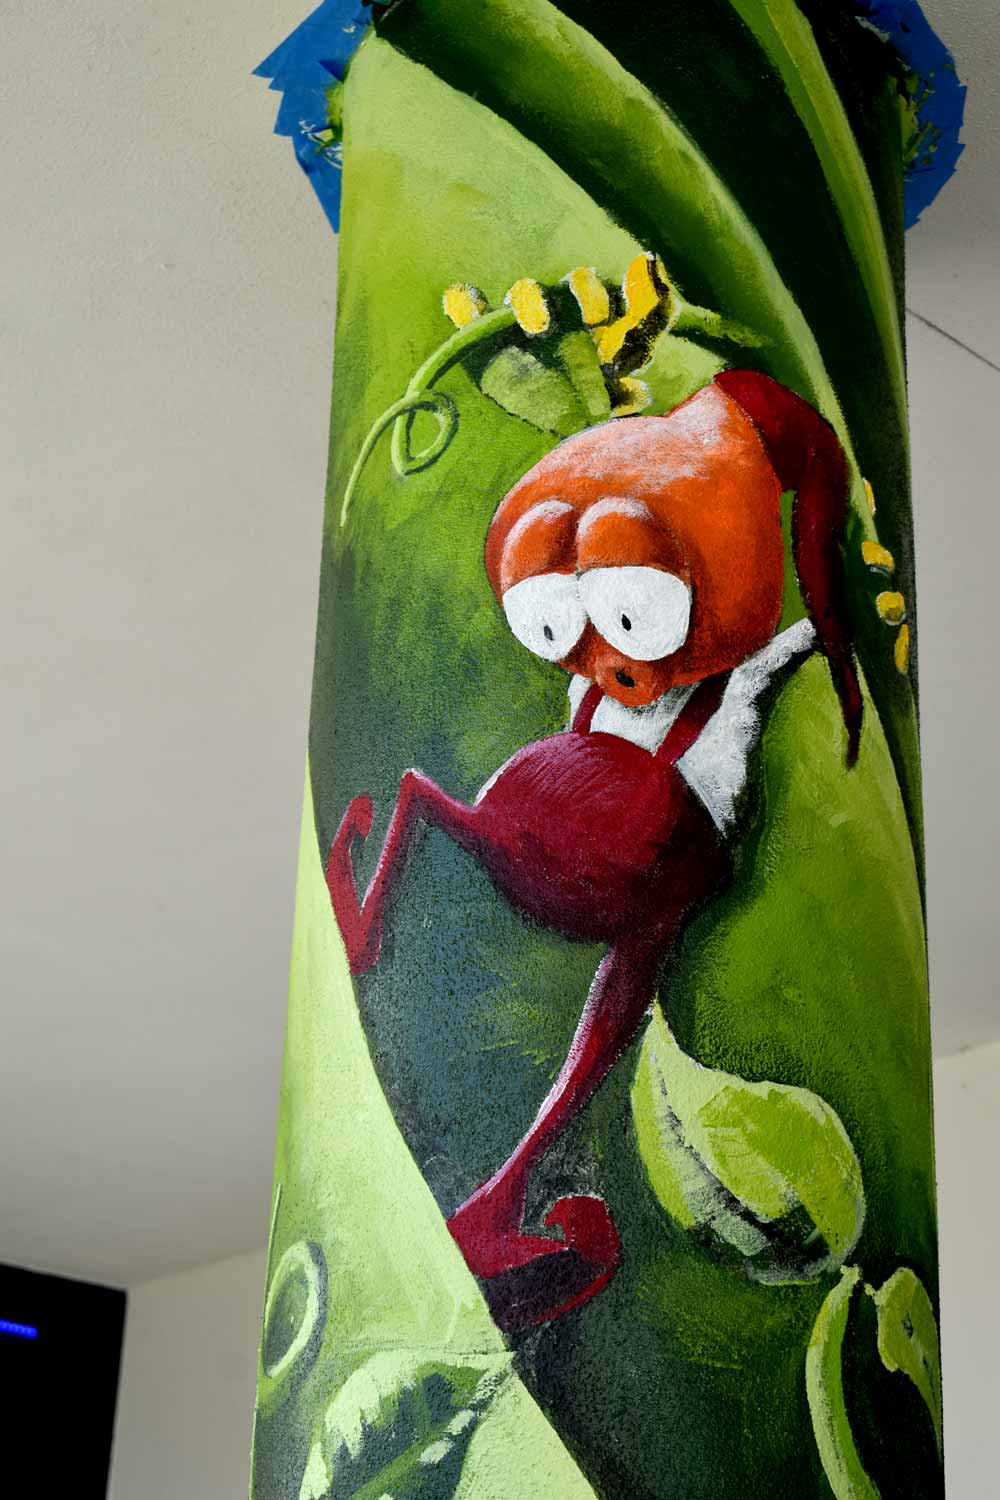
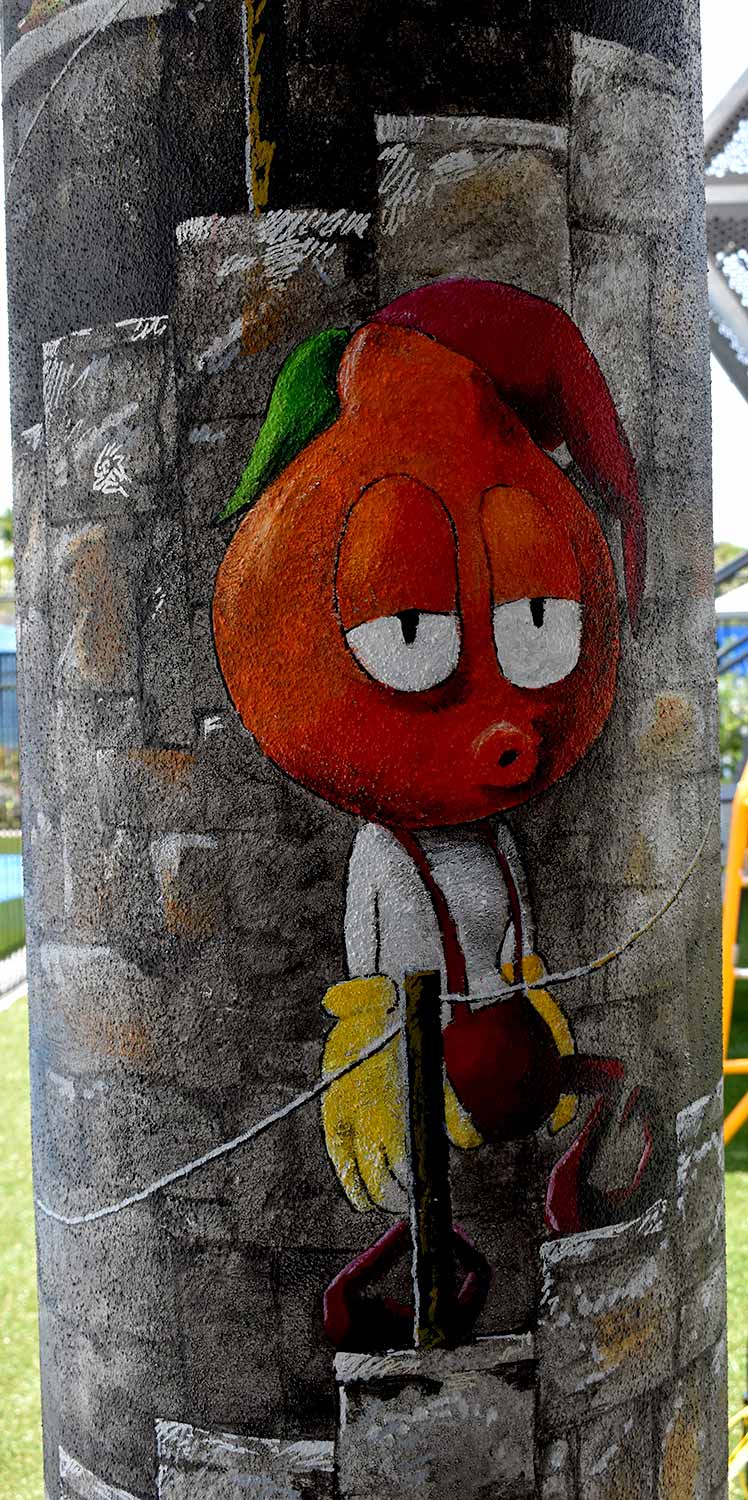


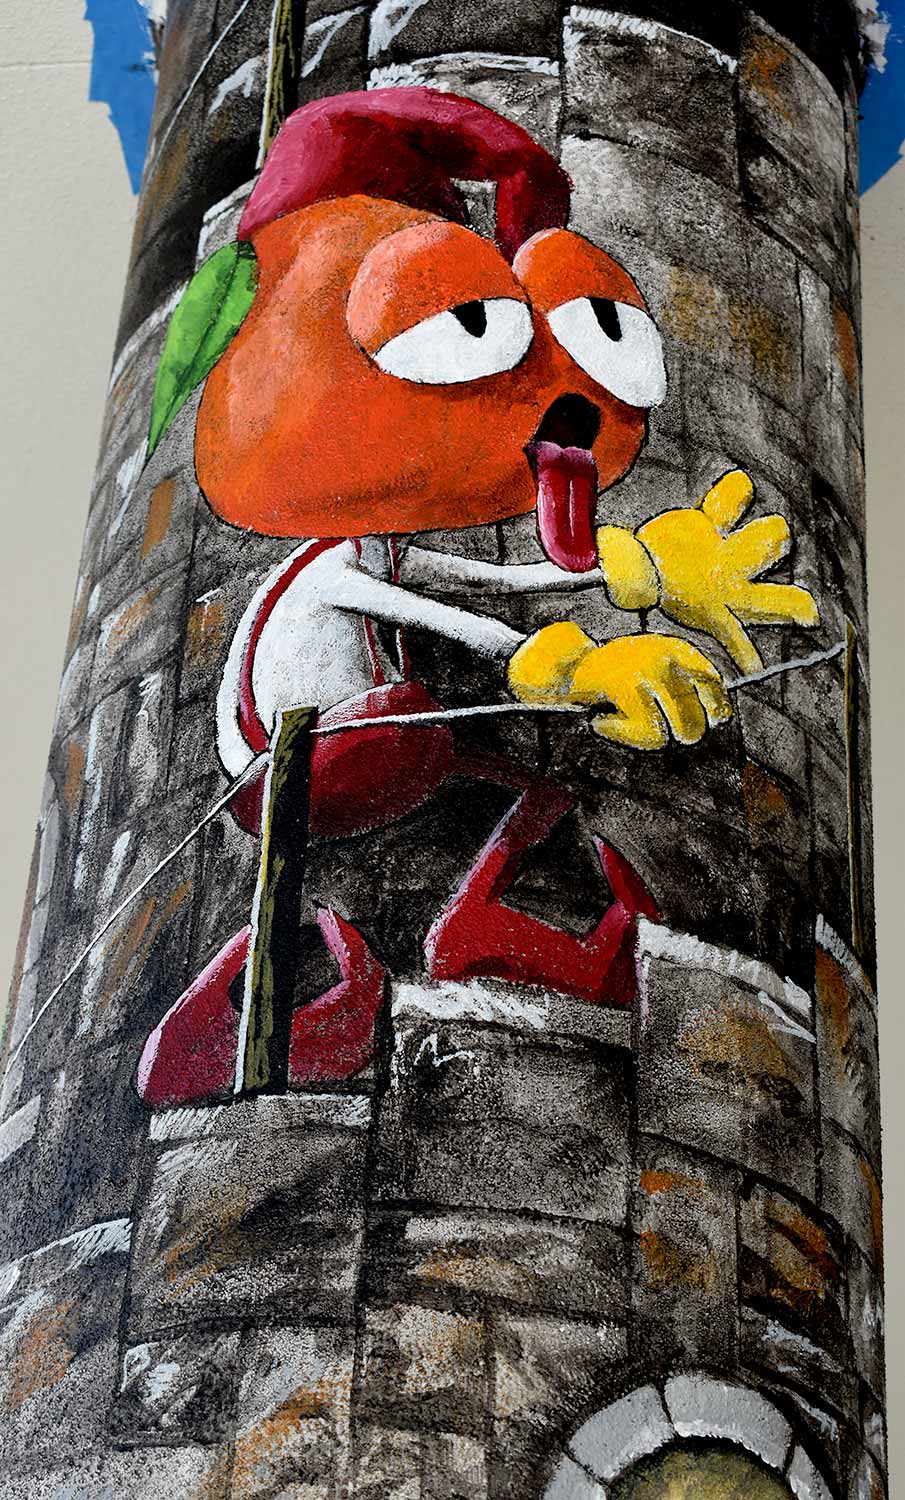
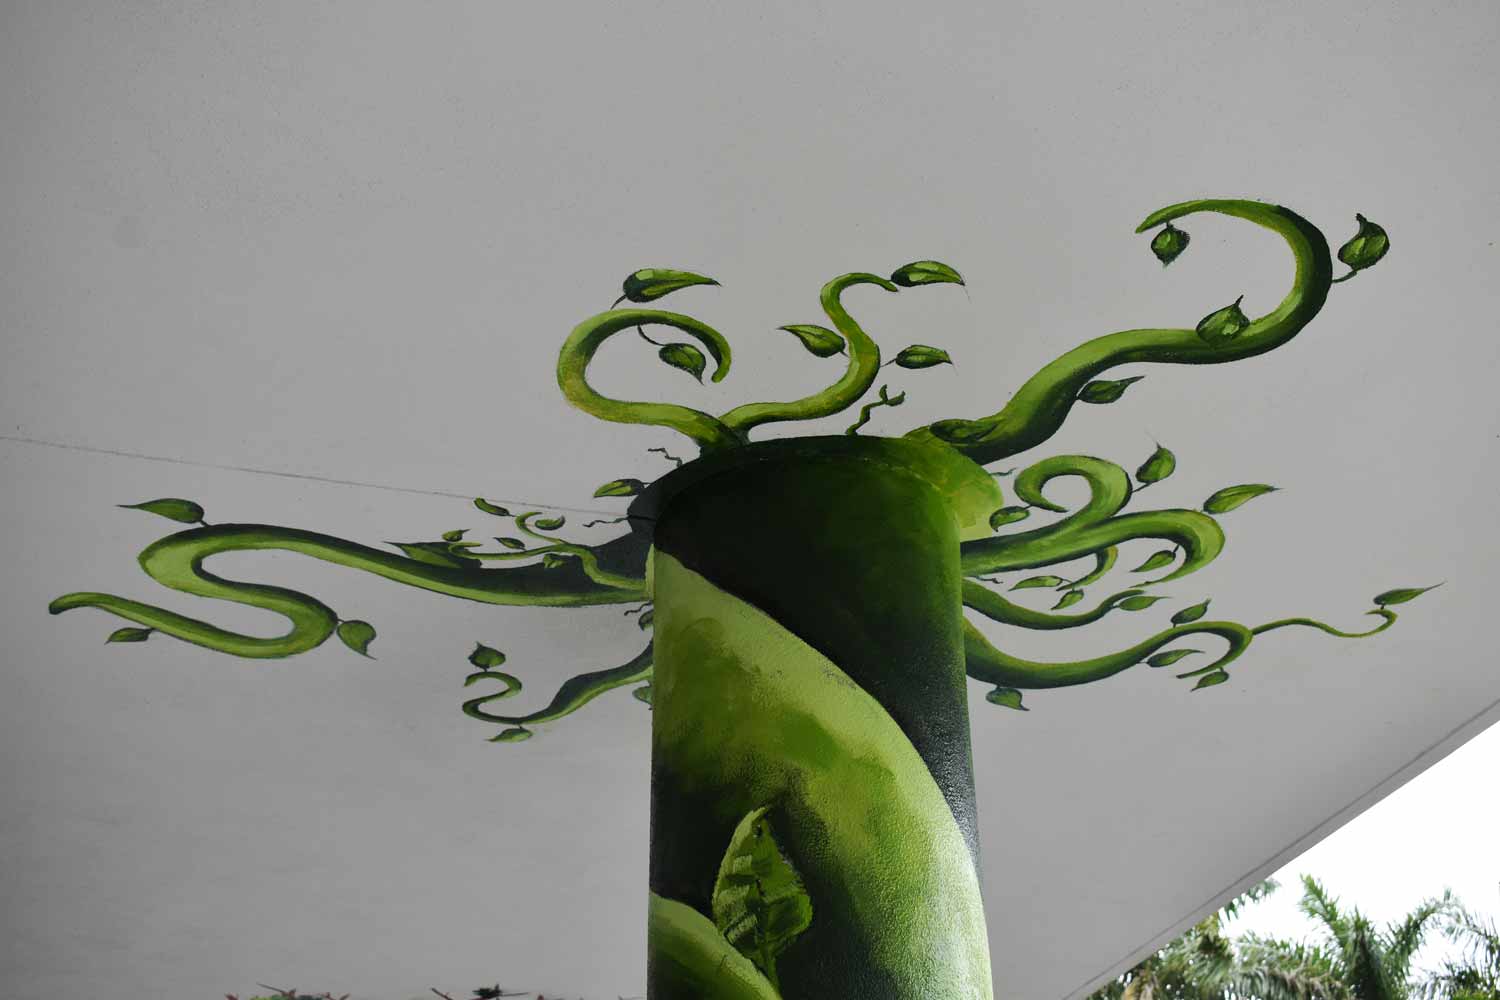
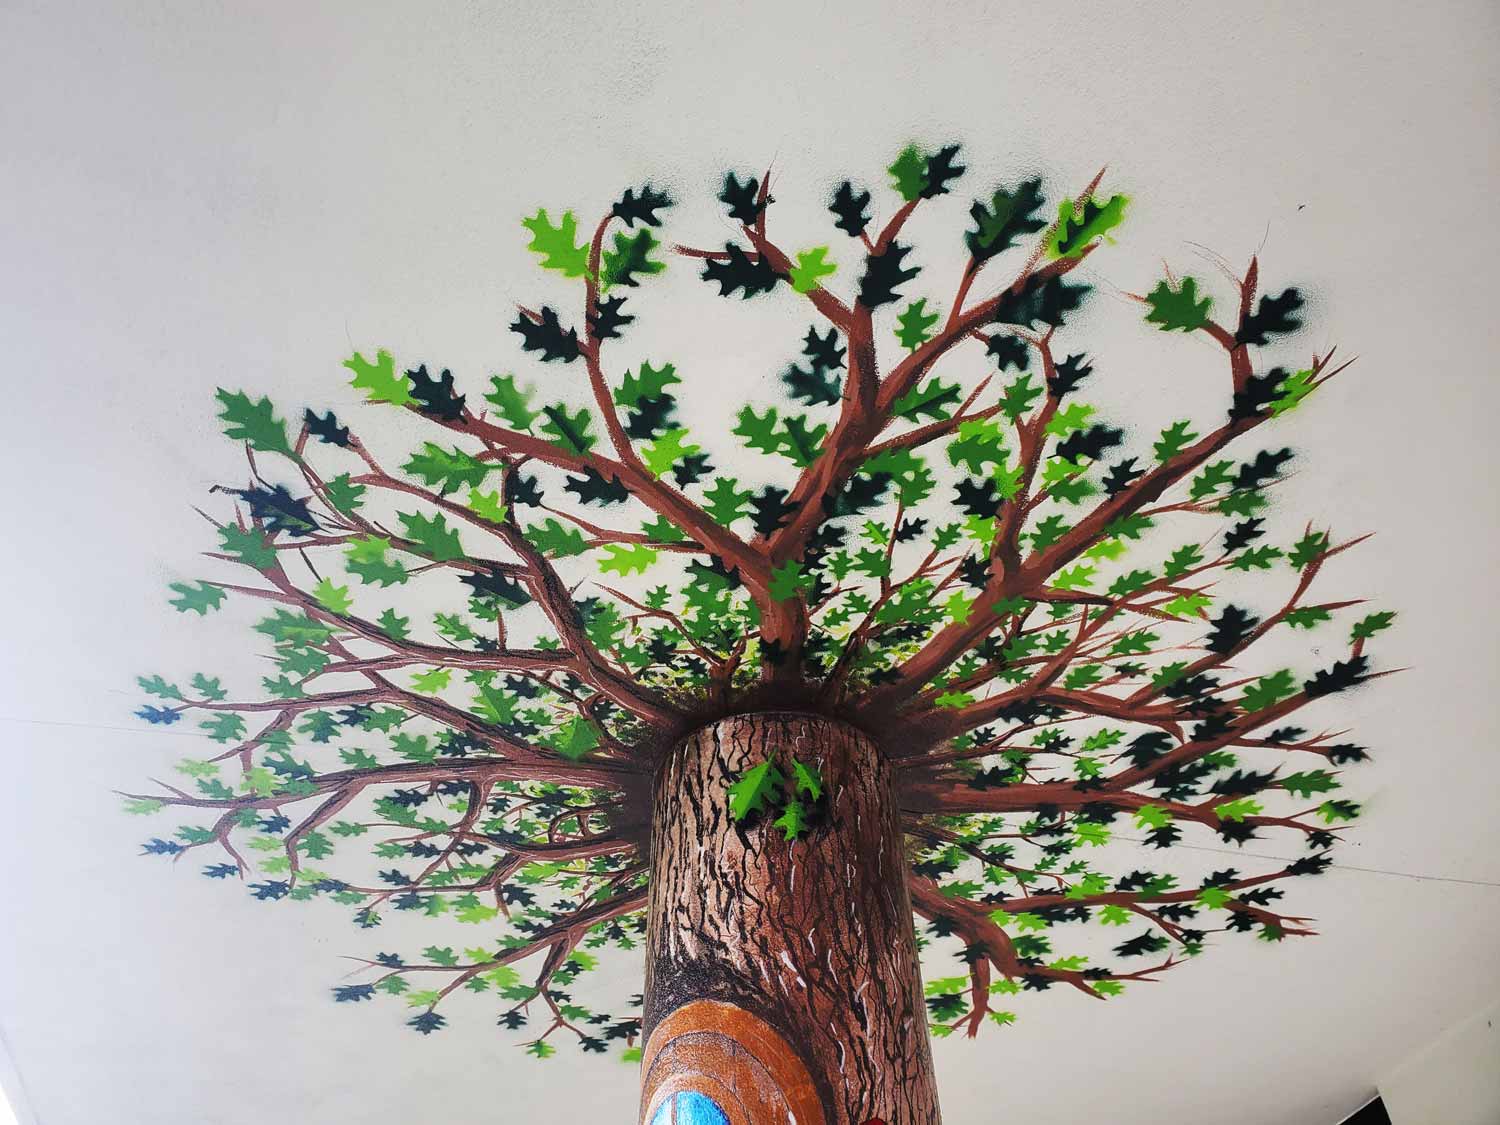
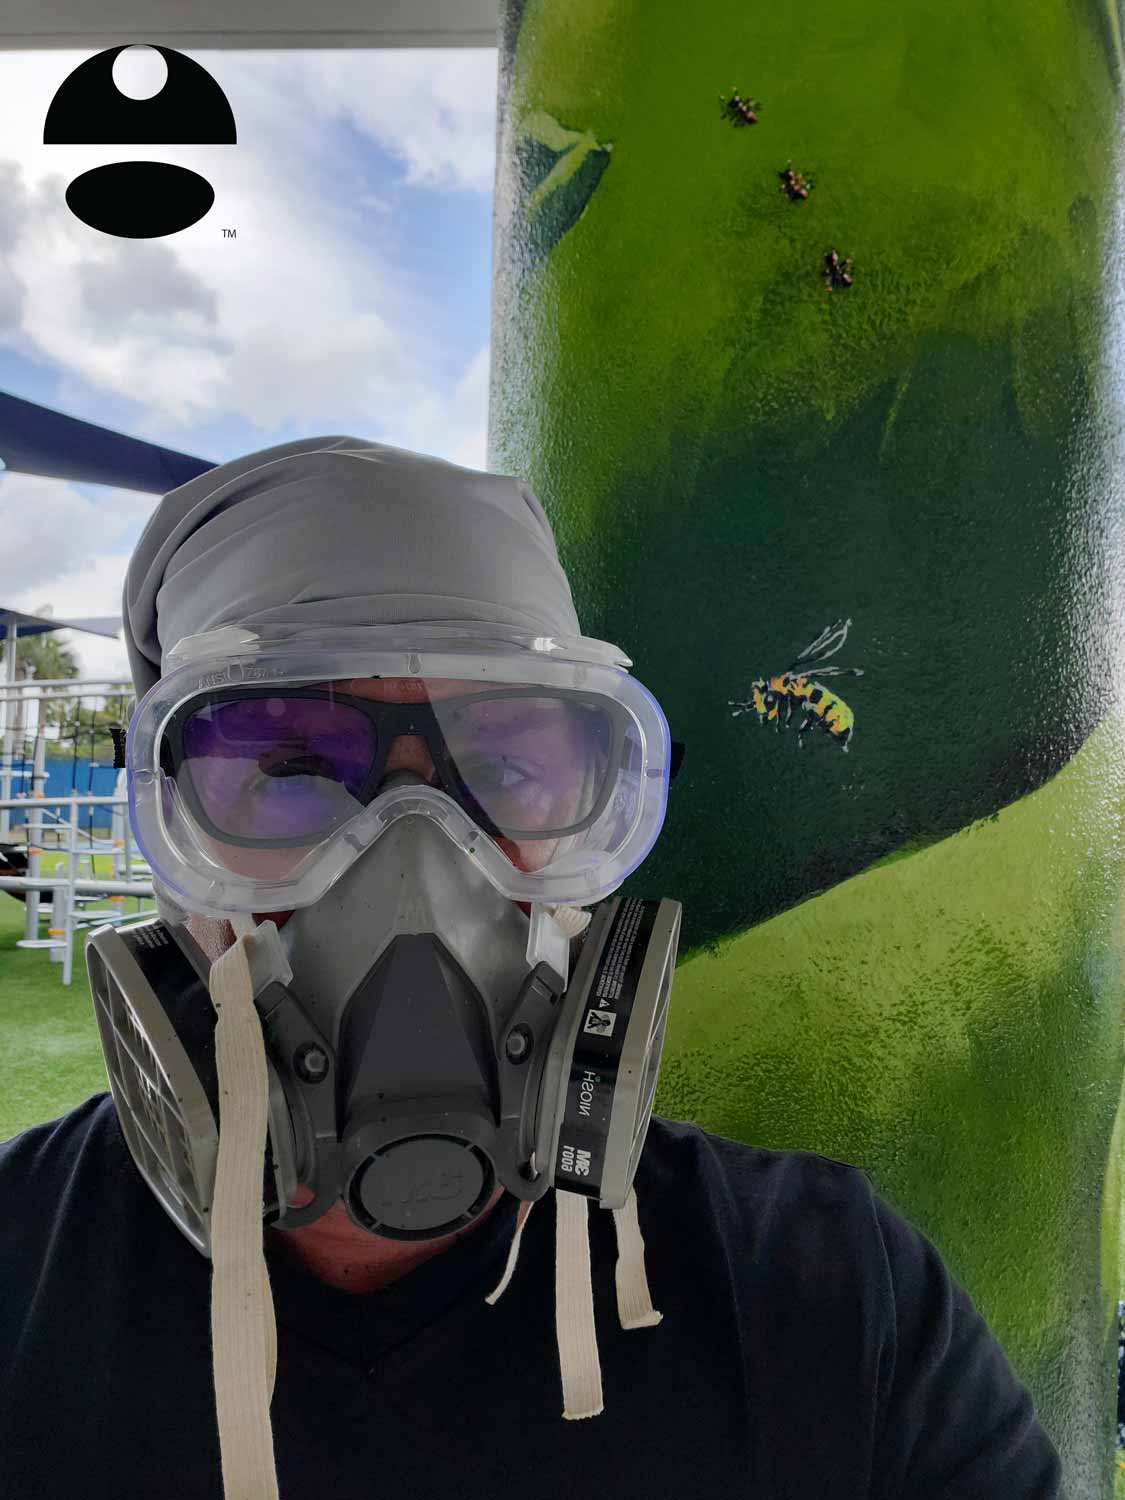
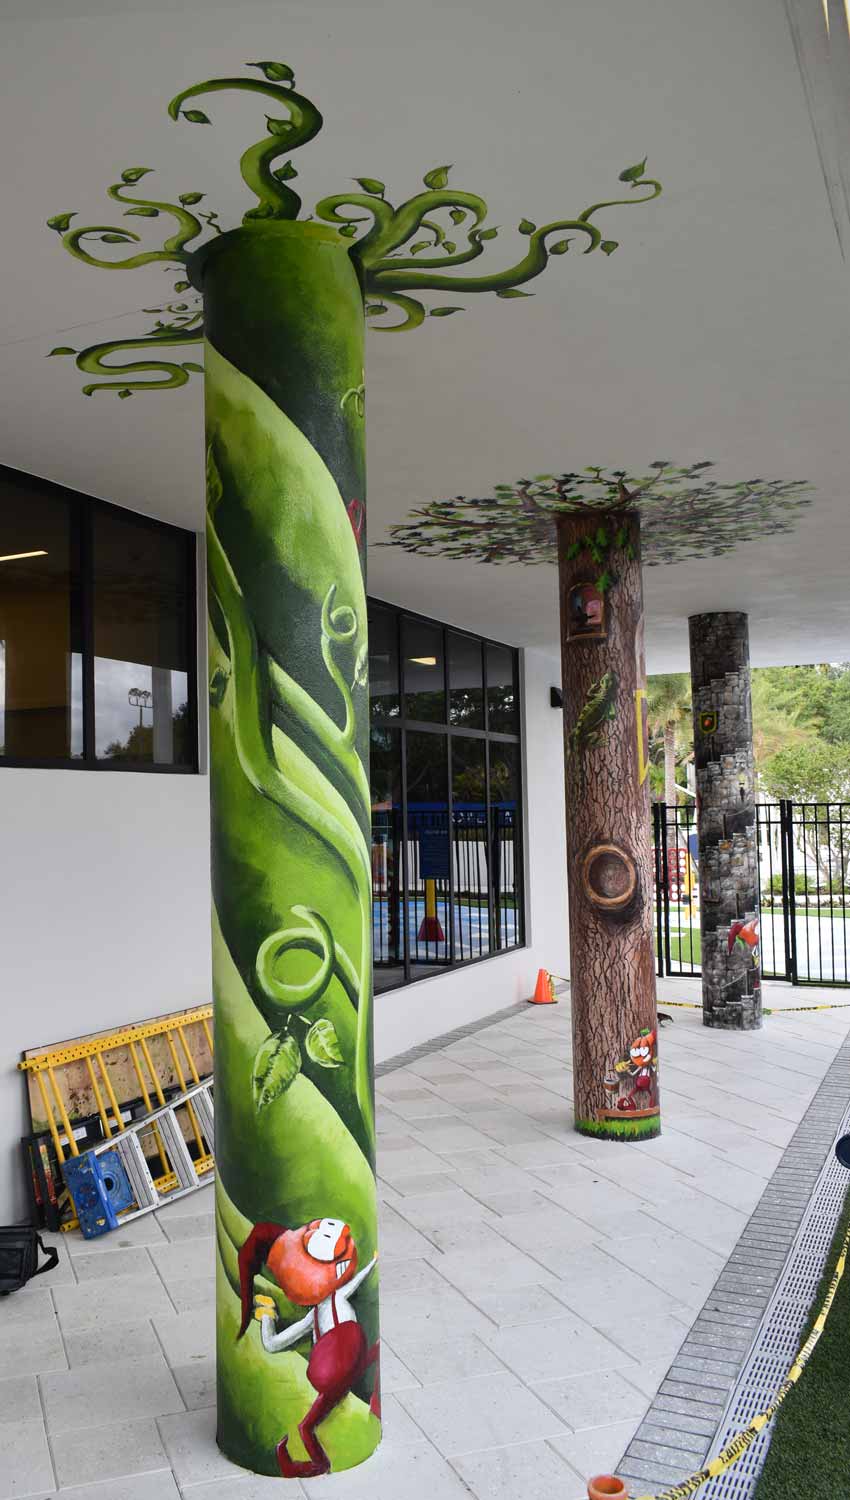
Click on the image above to zoom in.
The two most frequently asked questions I got on site were…
- “Did I do this freehand?”
Answer: I drew the sketches using reference like photos on the internet. After that the sketches became my reference.
I guess the shortest answer is no. I am rather meticulous on most projects including this one. - “How long did this take?”
Answer: Thirteen days on site. I recorded a total of one hundred and seventeen labor hours. That would make the first twenty six or so hours the off site preparation, sketching etc. That makes about thirty nine hours per column.
It did take longer than I had expected.
